Three Ways To and Depth and Dimension To Your Mixes
These are several tips that have helped me tremendously in adding 3 dimensional depth and dimension to my mixes.
What’s up Forum,
have you ever finished producing a song and wondered why it was not popping to life like your favorite songs on the radio? OR have you ever wondered what the heck your mix engineer does with your trackouts? Lucky for you I’ve discovered the trick.
But realistically,
There are a shit ton of plugin designers out there that talk about re-creating the warmth and depth and spacial orientation of analog recording equipment. While I do believe that a select few of these do their job, most of what we are looking for in a recording lies in some of the skilled mixing techniques (in addition to great sounding gear).
Without getting too technical, our ears love hearing complex sounds, especially harmonics, which often are amplified with analog recording gear. Harmonics in a nutshell make things more interesting, so one of the first things you want to do is…
Use interesting sounds
And when I say interesting you can accomplish this in a few ways. I’ll cover reverb and delay later in the article, but one of the first ways you can add depth and dimension to your music is by making your core sound bed or chord progression interesting.
One simple way of making your sound bed interesting is taking a small portion of the lead melody or vocal. This can be a few hundred ms OR a 1/4 note. Take this sound and repeat it throughout your song. you can push the sound further in the background by blending the start and endpoint with a subtle reverb.
What this does is create a ‘sound bed’ in the fundamental key of your track. This can help to separate the foreground sounds from the background and help push the musical progression forward. Just that bit of separation and movement helps create depth in your music.
Another way of approaching this would be to layer your sounds. This can range from your percussion to the sound bed, chord progression, and lead sound. A great layering tip would be to think of your layers in terms of frequency, finding separate sounds for lower, middle, and high-frequency ranges. Generally speaking, lower and mid-range tones would be a little lower in volume.
Interesting sounds help to naturally bring out the frequencies and harmonic interactions our ears love while creating unique sounds that are hard to pinpoint. I love to think of sound as a flavor and how when we taste something unique and new, our brain is analyzing so many elements that we forget to classify it as ‘bad or good’ it simply is interesting until we’ve had enough or want more.
Like flavor, some frequencies or elements need to be muted a bit to have cohesiveness. So one major thing is to use…
Smart “Doppler” Leveling
Not just balancing the faders, but thinking of the frequency or the ‘notes’ that need to be either forward or backward in the mix.
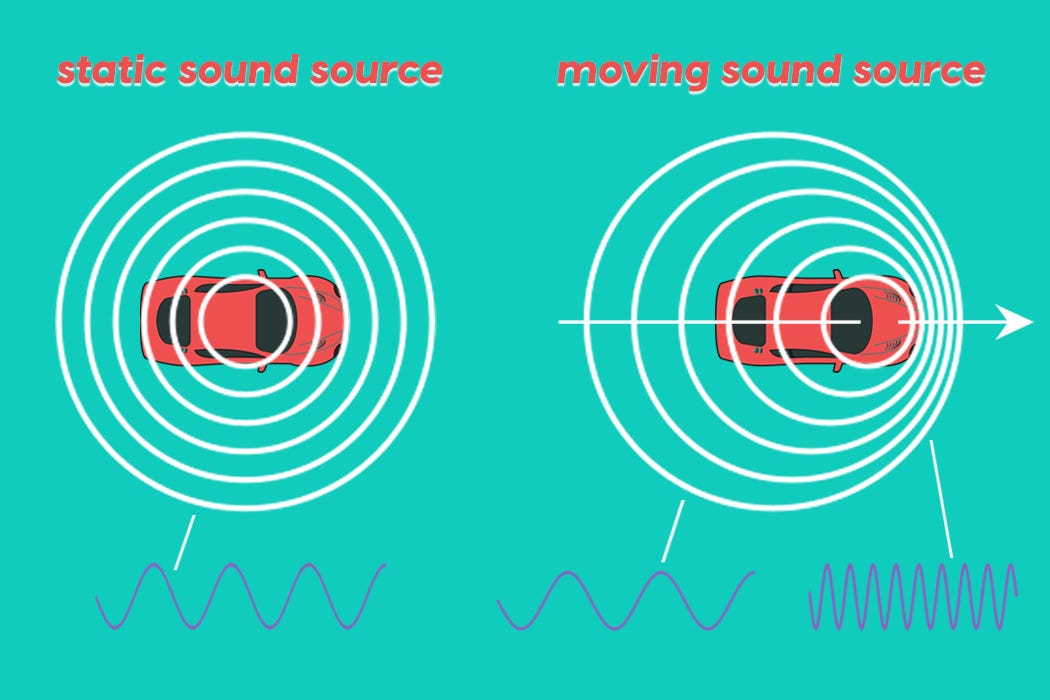
Have you ever heard an ambulance drive by and the tone change as it approaches then drive away? This is because of the different frequencies and the wavelengths of the frequencies that make up the siren. High frequency waves have short lengths and low frequency waves have long waves.
Most simply, when we hear the ambulance coming towards us, we are getting more of the high-frequency information because the high-frequency waves are shorter and perceived as louder (plus the ambulance is getting closer). As the siren moves away, the tone goes deeper as the lower-frequency waves still reach us while the high-frequency waves aren’t still reaching our ears.
Treat your audio the same way, if you want something up front bring its level up OR raise some high-frequency information. Something further away will be lower in volume BUT you’ll want to shave a bit of high-frequency information off to make the sound more natural.
instead of just a steep cut, try using bells and shelves to lower and/or raise frequencies.
When you’re mixing you always want to consider the space that the mix is happening in. Not just your mixing environment, but where IS this mix? Does the song take place in a bedroom, a club, arena? You decide, this will set the tone of the mix and help bring everything together.
I love to have my track leveled and panned so everything. where it needs to be in the ‘world’ before we get to the room. Then I’ll send all instruments 100% to the reverb room. This gives me a great idea of how to ‘set’ the reverb. The best advice I can give about that is that setting the reverb is simply…
making your reverb a real space
This means creating a realistic space based on the principles of how audio moves around real spaces. This is kindof where things get a little tricky.
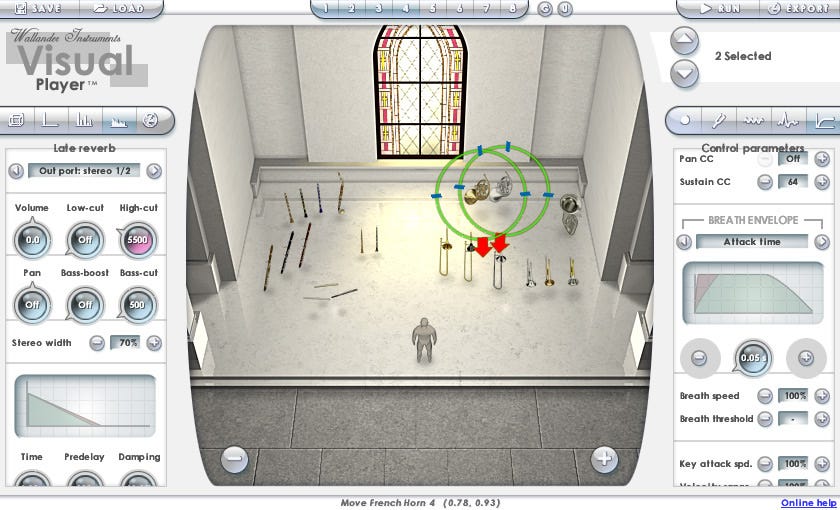
We want to recreate this ‘fake’ room with several reverbs and use our knowledge of how sound travels in space. We’ll set up One reverb for the front of the room, one for the middle, one for the back of the room, and one for the overall room tone.
Each reverb is essentially the same ‘room’ with slightly different decay, early reflections, and room size.
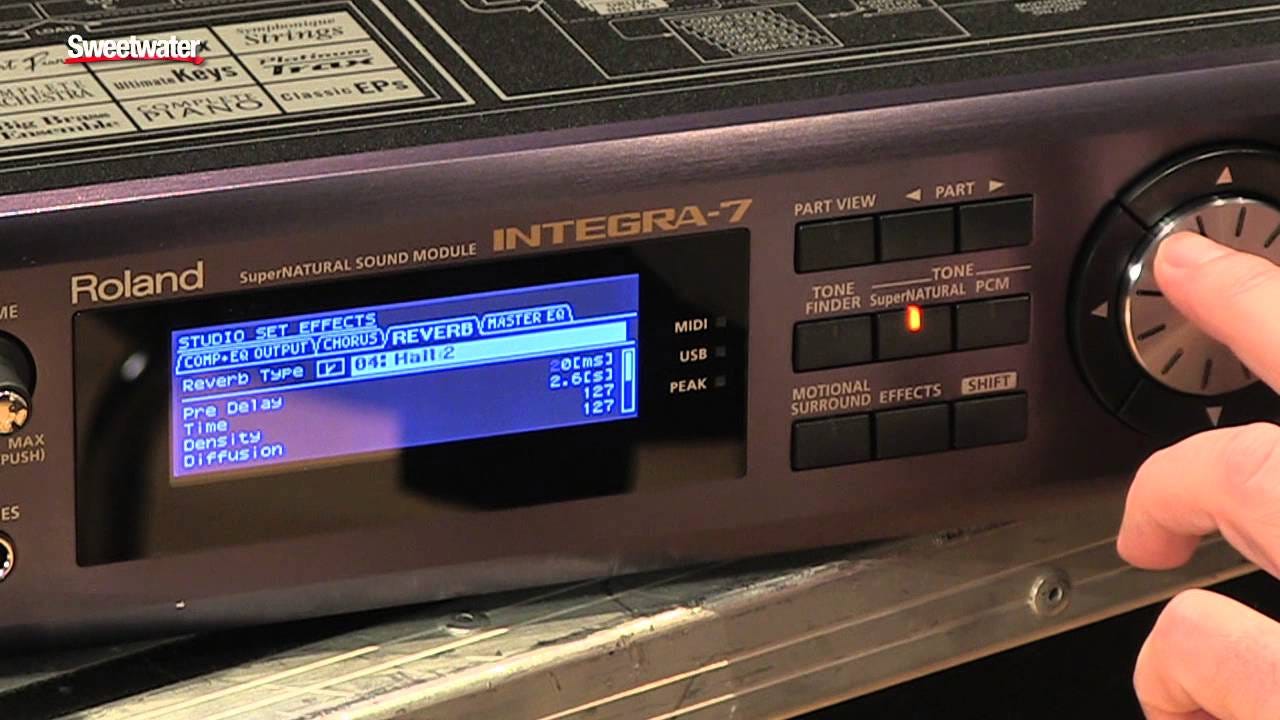
If you were a dolphin, your life would depend on the ability to locate food/predators in space based on reflections. Think like a dolphin and think about your room and where each instrument is placed in that room. If this was a real room, your brain could tell where things were placed by hearing early reflections similar to the dolphin with echolocation. The early reflections tell us where the reflective parts of the room are. The time between the initial sound and the sound hitting those reflective parts of the room is called the pre-delay.
Things that are up closer or in the Front of the room have a longer pre-delay time as it takes more time to reach the first reflective parts of the room. Subsequently, since there are fewer parts of the room for the sound to bounce off of the ‘size’ of the room will be smaller. . Things closer to the back have a shorter pre-delay time as they essentially are the first bunch of ‘things’ that the sound will bounce off of. Your room size further back will be based on how ‘big’ you want to define your space.
(of course, you can use moderate settings in the mid-range)
This video from mastering.com covers the concept well and is partly the inspiration for this post.
But essentially you can get a bit creative with your approach to your room. One key consideration is keeping the reverb tail at musical intervals. This calculator will help you convert your BPM into milliseconds for your specific reverb. Longer tails always work for the back of the room and 1/4 note seems to be a sweet spot for the front and middle.
Even with your reverbs you can apply your knowledge of smart leveling. If something is further away, you can roll off more of your top end and add more early reflections. Something closer has a little less bass more pre-delay and fewer early reflections.
I have a great time matching my reverbs with my delays. this way the sound of the ‘room’ is consistent. So say something is closer, using shorter delay times that match the room and/or the tempo to create a sense of width up front. This plus that small reverb or even sample delay can ‘pull’ or ‘pop’ elements out in the stereo field. Even using a HAAS-type delay can bring elements forward and make them fill up the stereo field.
And speaking of HAAS…
Use HAAS Panning
Keep reading with a 7-day free trial
Subscribe to The SOVL Report to keep reading this post and get 7 days of free access to the full post archives.


